


If you want to stand a chance inside R.E.P.O.‘s punishing labyrinths, then you best learn how to effectively move across the maps without being spotted.
Here is everything you need to know about every R.E.P.O. map.
All R.E.P.O. maps, summarized
While there are only three maps to play with, there is more than enough variety as the valuables, map layout, and spawn location are randomized every time you drop into the level. You won’t know which map you’re heading into until the next level loads in (after visiting the Service Station). To make matters harder, launching into one of these maps from level three onwards massively alters the layout, providing more elaborate and complex design that increase the difficulty. The map’s design isn’t the only thing that changes either. Difficulty increases not only by the number of monsters that spawn in, but their overall threat level also rises.
Monsters often spawn at the furthest point from the truck in the early levels. Refer to opened doors as you explore, this’ll tell you if a monster is nearby.
Similar to Lethal Company, all monsters in R.E.P.O. have a chance of showing up, however some are more common than others. Monsters you may be used to already, such as the Apex Predator or Chef, multiply as you progress through the levels.
As the maps get more elaborate, so too do the monsters. Level one always throws two enemy types at you. The number of monsters in a single level increases based on the amount of times you need extract valuables within a single level (refer to the red counter as a guide on how many monsters will spawn in).
The three R.E.P.O. maps are:
- Headman Manor
- McJannek Station
- Swiftbroom Academy
Each map has level-specific valuables and a higher chance of certain monsters spawning in. Here is a quick rundown on what you can expect on every R.E.P.O. map.
| Map | Monsters | Valuables |
|---|---|---|
| Headman Manor | Spewer Trudge Robe Reaper Gnome Headman Ceiling Eye Apex Predator Shadow Child Hidden Alien Chef |
Ship in Bottle Cursed Doll Television Trophy Painting Human Statue |
| McJannek Station | Trudge Reaper Gnome Headman Ceiling Eye Apex Predator Huntsman Upscream Shadow Child Spider |
Bonsai Tree Laptop Yellow Scroll Flamethrower Chainsaw Propane Tank Hazardous Container |
| Swiftbroom Academy | Spewer Bowtie Robe Headman Ceiling Eye Apex Predator Clown Huntsman Shadow Child Hidden Alien Chef |
Locked Book Music Box Symbol Cube Glowing Mineral Red Potion Love Potion Hourglass Sword Server Broomstick Display Wizard Staff Griffin Statue |
Always refer to the map (using Tab) if you get lost. This will tell you where the C.A.R.T. and any activated extraction points are. It will also keep track of any valuables you didn’t pick up but looked at (appear as yellow dots) and will leave a trail back to the R.E.P.O. truck for when you need to exfil.
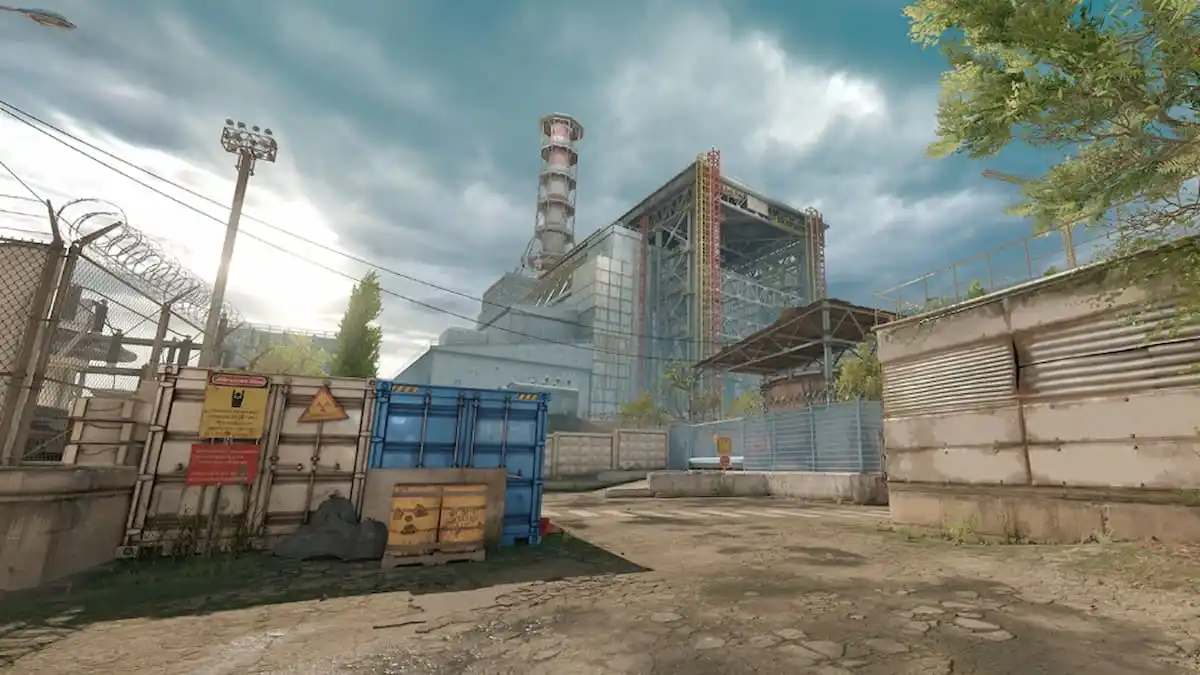
Headman Manor
While the Manor is named after the Headman, this doesn’t mean this monstrous spawn is guaranteed every time. The Manor is comprised of many narrow corridors, with courtyards and multiple floors. It’s the hardest map to navigate around, especially as you progress through the levels. The Manor will quickly add death drops into the mix, punishing the oblivious and those prone to panic.
The main hiding spots are underneath beds, inside bottom drawer cabinets (tumble and crouch to fit into these), tables, and corridor alcoves. As there’s multiple floors to this map, you can move the C.A.R.T. freely between the floors without the risk of damaging heavier valuables.
McJannek Station
The McJannek Station predominately consists of large rooms, connected by wide corridors that are often filled with loot. This map has the easiest layout to learn, but it comes at a cost as monsters will often stray into the extraction point. The Station also has the fewest amount of hiding spots, so you may want to spend most of your time crouched if you’re riding solo. The open areas makes it easier for monsters to spot you. This puts you in a dangerous situation if you haven’t upgraded your stamina or sprint speed.
The only real appropriate places to hide are behind giant doors, underneath tables, or inside small side rooms where you’ve shut the door behind you. Use the giant doors to your advantage as monsters won’t actively check behind these if they’re already open. The giant doors won’t easily fall off unlike the wooden doors in the Academy and Manor.
Swiftbroom Academy
The main home for the Clown, Swiftbroom Academy is full of surrealistic monsters like the Alien, Chef, Spewer, and Apex Predator. Some areas of this map are engulfed in darkness, as this school is completely cut off from the outside world. The layout of the Academy is strange; some spawning points lead straight into a randomly placed staircase, and it makes it hard to know if a monster is waiting for you on the other side.
There are a ton of hiding spots here as you can crouch underneath tables, counters, and inside small side rooms that typically have a bed inside. Lastly, you can hide behind the C.A.R.T. if you’re crouched next to it. You can stay out of the line of sight from an imposing threat while simultaneously moving the C.A.R.T. to your desired destination.
Read the full article here


Discussion about this post