


The first encounter in Destiny 2‘s Sundered Doctrine would be at home in Tomb Raider or The Mummy. The dungeon asks you to solve a riddle to enter the Pyramid, and the answer requires you to use a set of mirrors to unveil the truth.
The riddle isn’t a yes or no question, though. Instead, it’s closer to Savathûn’s two truths and a lie game she plays with you during (and after) The Witch Queen. Separating truth from falsehood is a recurring theme in Sundered Doctrine, so keep that in mind as you explore.
The Vow of the Disciple glyphs play an essential role in the dungeon, and you’ll need them to beat all three encounters. There’s a room with all the symbols behind the first encounter’s starting area, but you can also find incredible community-made diagrams for the Vow glyphs (and mostly anything in Destiny 2).
Here’s our guide to Sundered Doctrine’s first encounter, called Solve the Riddle, and how you can beat it—and score some Sundered Doctrine loot in the process.
Destiny 2 Sundered Doctrine: How to solve the Riddle in the first encounter
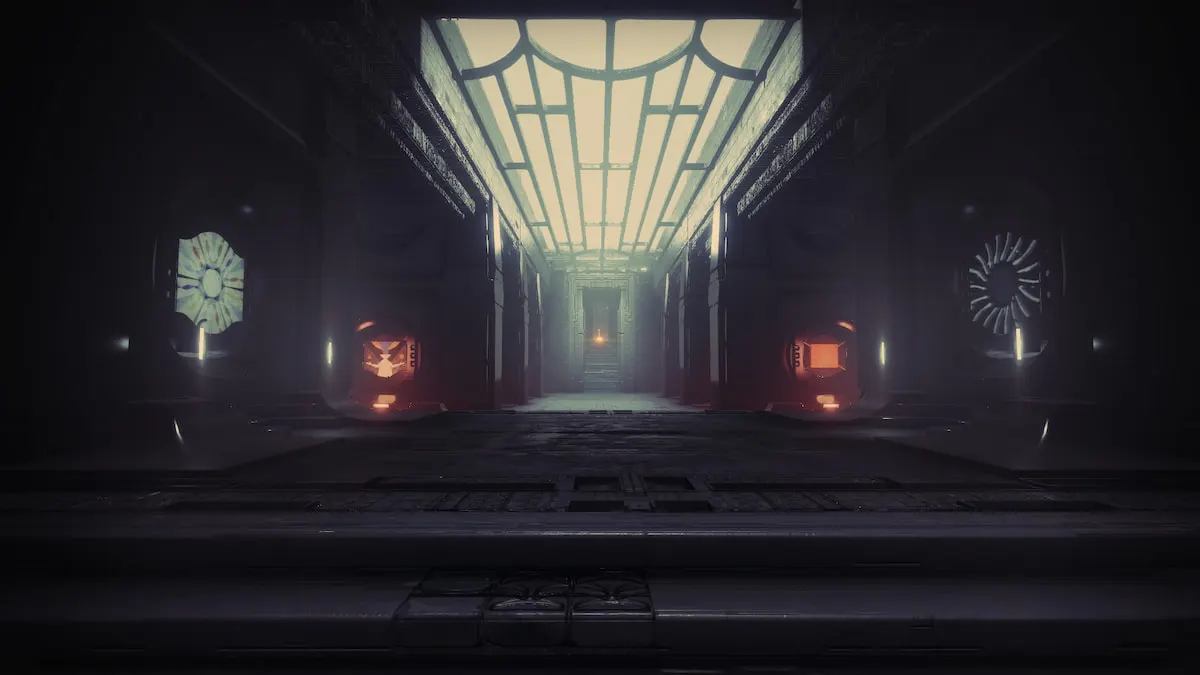
Since the first encounter requires you to see through lies, the first step is to find the truth. Look dead ahead to find a wheel dial above the door, pointing to three symbols: Pyramid Stop Guardian. That’s a truth: the Pyramid is stopping the Guardian from delving further. Start the encounter and the clock will show two glyphs, with a third left blank. Complete the sentence to find out the truth, which is a mix of the names of each symbol. This encounter has Subjugators in nearly every room, so bring an appropriate weapon.
All four rooms in the area have a panel on a wall, which shows one of the Darkness glyphs. Your goal is to find the one Grim called Truthspeaker in any of the rooms, kill it, and watch what glyph it drops. If killing the Truthspeaker reveals Guardian, for instance, head to the room showing Guardian on the wall. That’s the easy part.
Once you find the correct room, you must connect the matching symbol to the source of light in the center. Work backward, starting from the glyph and ending your path in the middle. There are multiple solutions early on, so just follow what seems to be the most optimal link between the light source and the symbol.
Don’t worry too much about the angle: the back of the lens doesn’t spread any light and each mirror absorbs the beams from any position. Just make sure the front is facing toward the next one in the chain. The red notches on the bottom of the mirror indicate where you can turn it, so use them to plan ahead.
The arena has four rooms spread out in an X, with two rooms on each side. Rooms on the same side (left and right) are connected by a hidden passage, which you can use to save some time and avoid the Husks in the center. A Tormentor will spawn if you pick the wrong symbol and the Pyramid rejects your solution, so if that’s the case, have your fireteam focus it to get some room.
Lighting up the right symbol completes the blank on the display above the door. A message will pop up saying “the Pyramid accepts your truth,” which means you’ve completed a round. This is the basic outline of how a given round in this encounter goes:
- Find the Truthspeaker and watch the symbol it drops.
- Defeat any Lens Bearers you find until then.
- Kill Subjugators to obtain lenses.
- Place the lenses in the correct stands to connect them to the source of light.
- Trigger the mirror in the middle to make the light hit the right panels.
After you light up the correct symbol, another Truthspeaker will spawn, and you’ll start the process again—but with two symbols this time, since the clock has two blanks. The Grim spawns as soon as the wheel takes the light, so start tracking again.
The second round isn’t much different from the first, with the exception that you must do the same process twice. Sometimes, you can glean the correct answers from context. If Guardian is the default answer and the Truthspeaker tells you to light up Worship, the following sentence will likely be Traveler or Light, since that’s what happens in the lore. There are plenty of maps for each encounter in Sundered Doctrine, including this ultra detailed version by Redditor u/DeadWarDude57.
The third phase is the trickiest: now, you must light up three symbols with the three light sources in the room, so there’s little room for error. There are no consequences for getting it wrong, though you may have to redo most of your work with the same symbols and a few missing lenses.
Not much changes during the third phase: go for the Truthseeker, make a note of the glyph that appears, and light it up. In some cases, you can spot the truth easily based on what symbols are on the walls. We had Hive, Worship, Darkness, and Kill, so the last one was the odd one out.
The final part can get messy, but sticking together with your squad should make it easier. Make sure to light up the symbols in the order in the sentence, because otherwise, it may tie your pathing in a knot and make correcting it much more difficult.
Once you wrap up the third phase, the wheel will present you with another its last truth: Guardian Enter Pyramid. This is your cue that you’ve finished the encounter, so grab your hard-earned loot and press further into the depths of the Pyramid.
Read the full article here


Discussion about this post